YOUR CART IS EMPTY
Go to cart

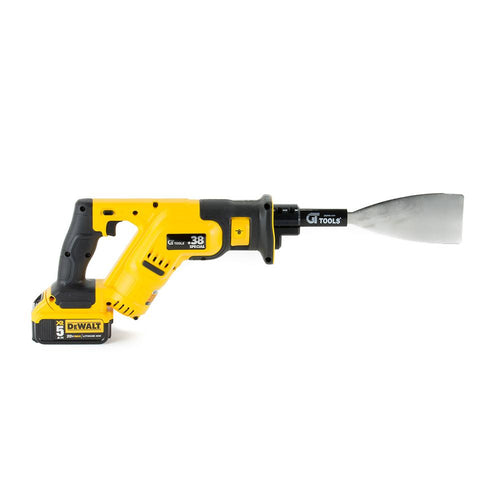
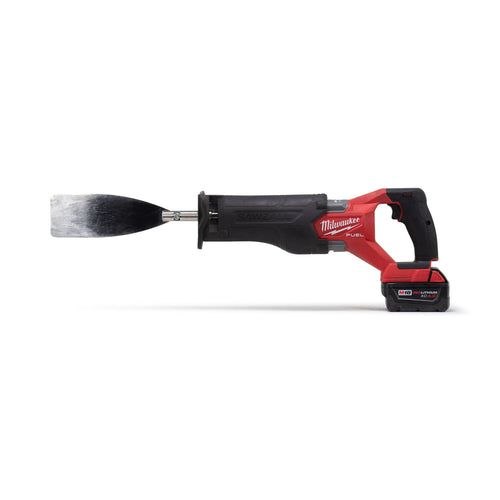
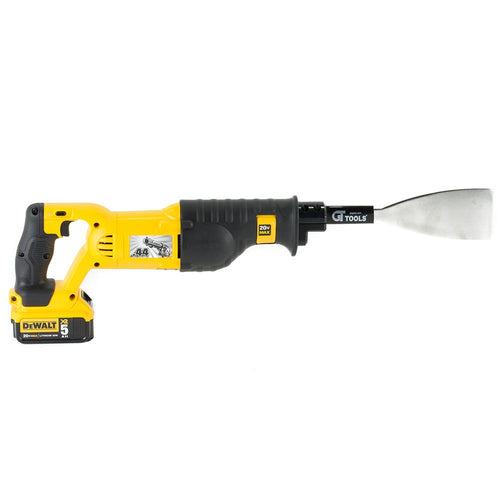
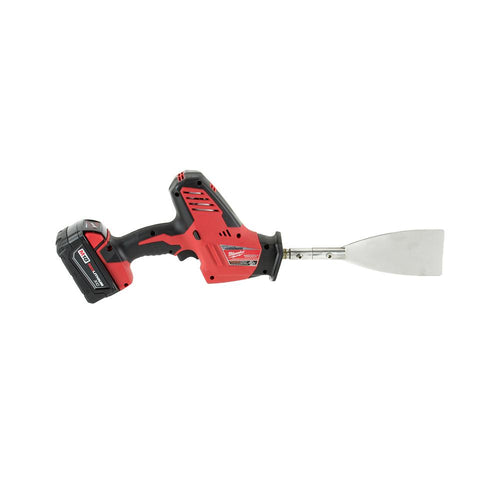
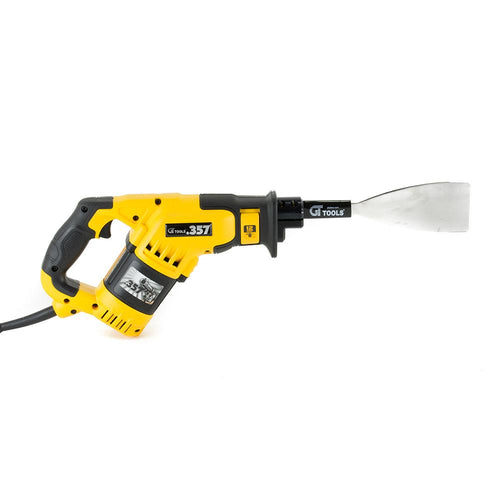
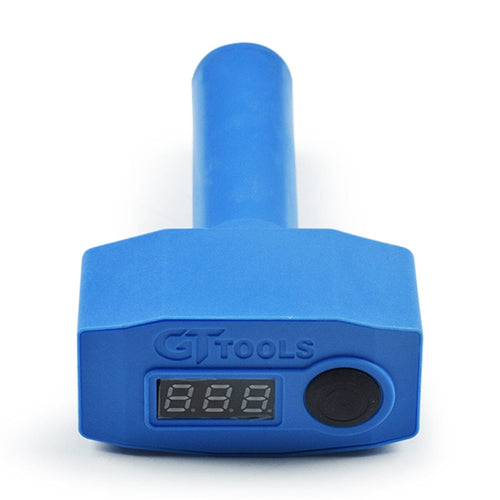
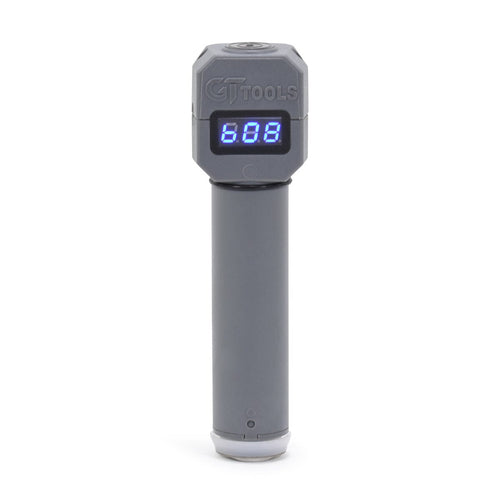
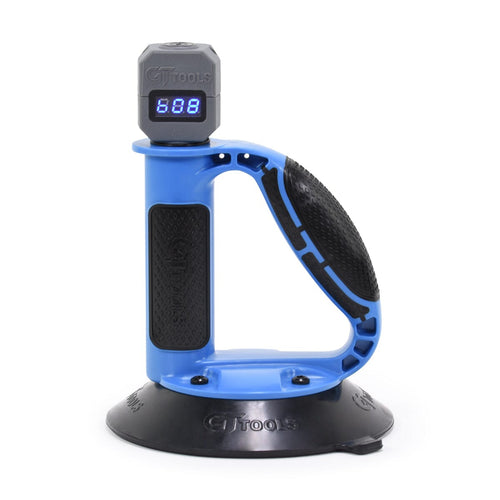
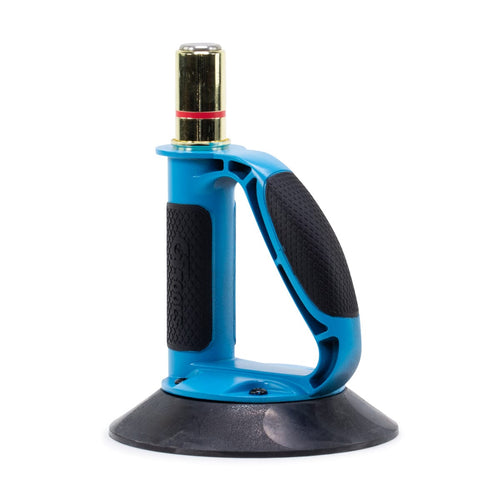
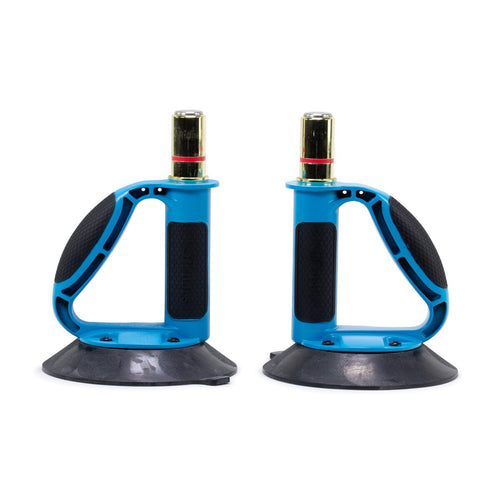
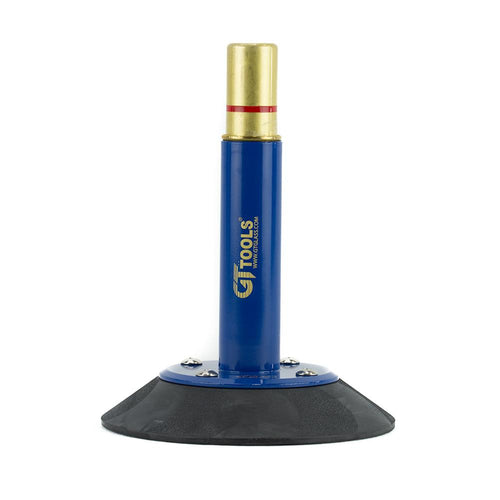
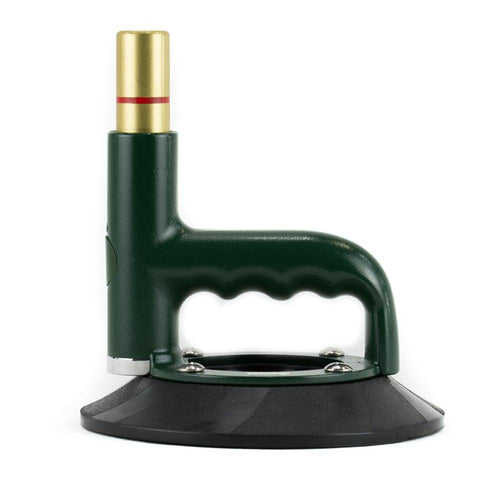
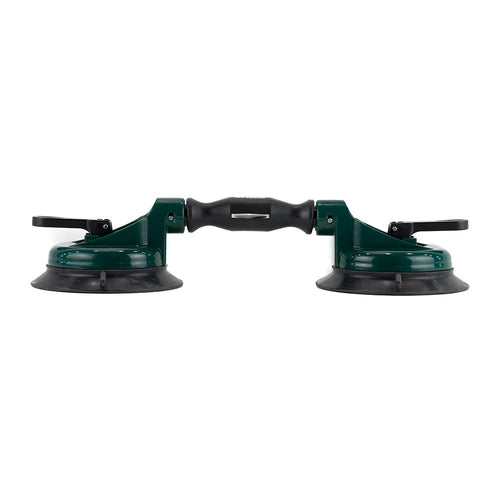
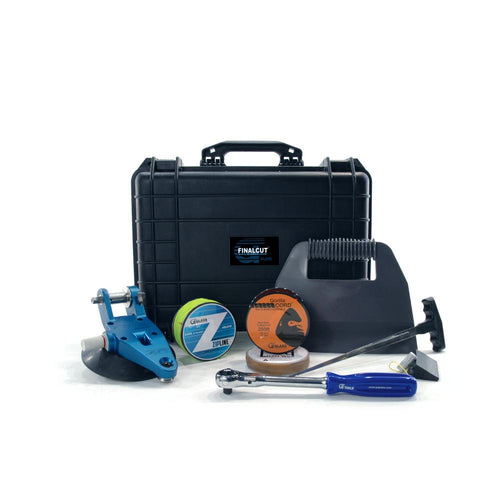
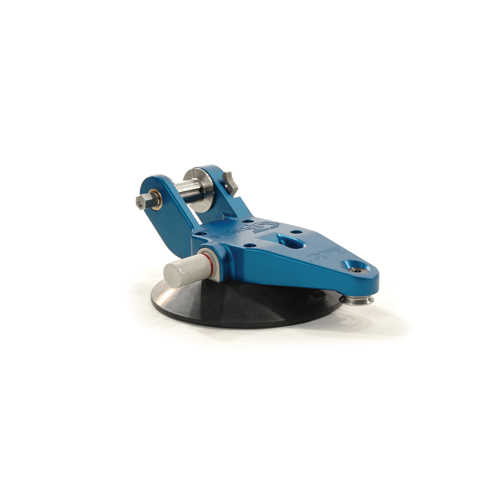
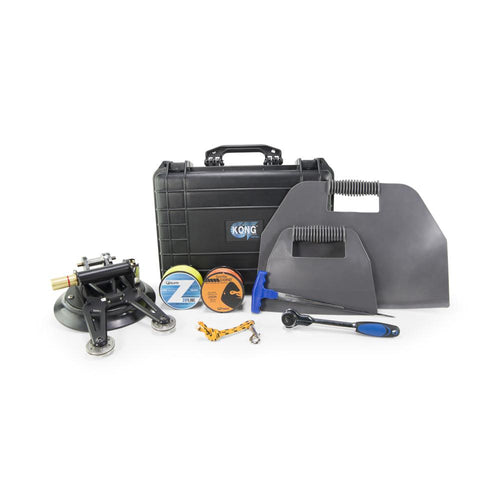
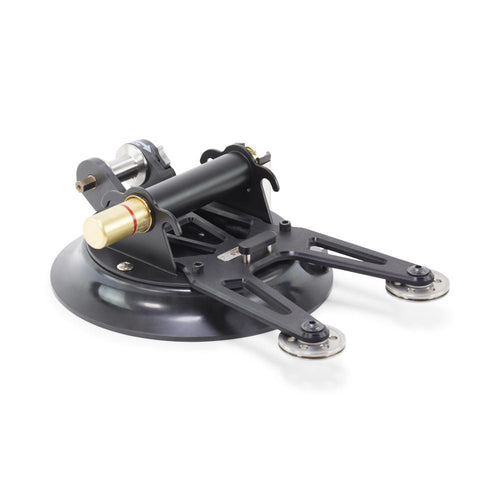
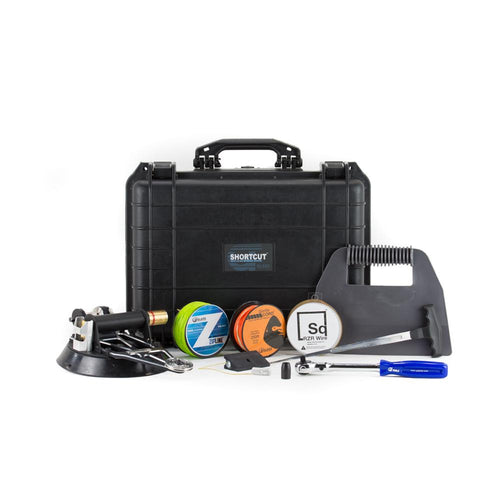
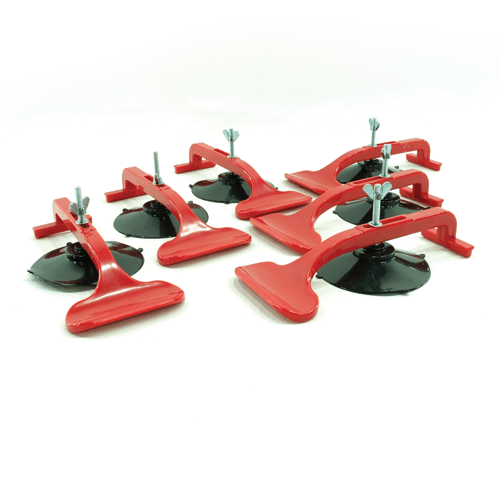
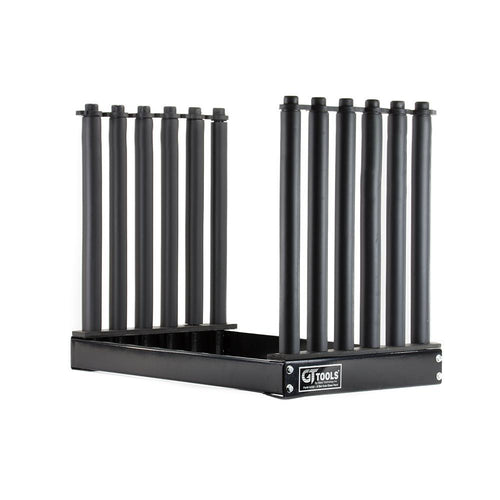
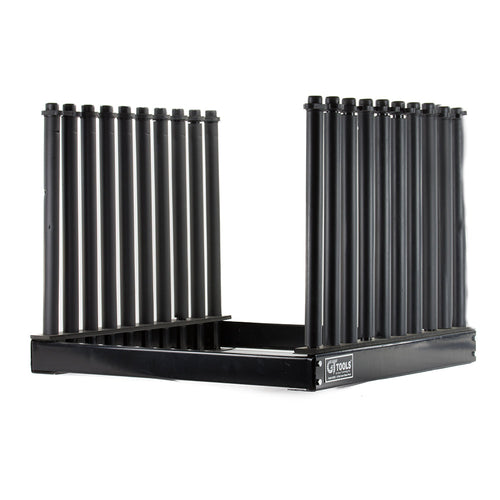
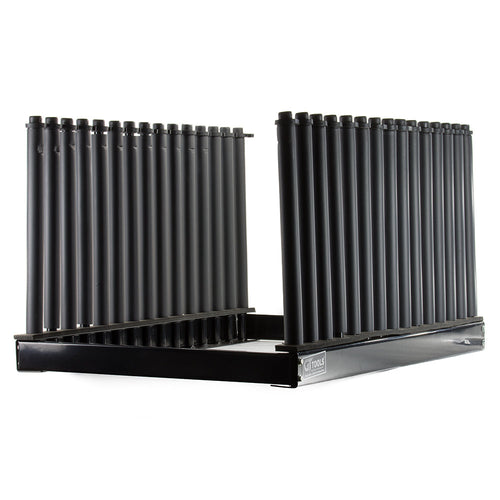
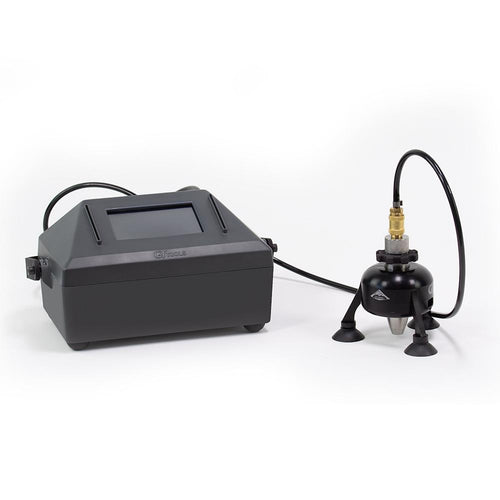
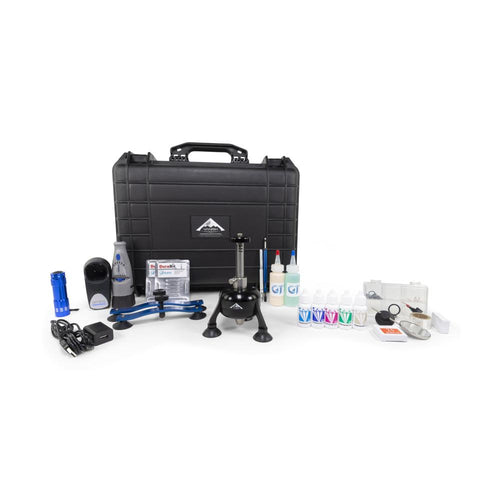
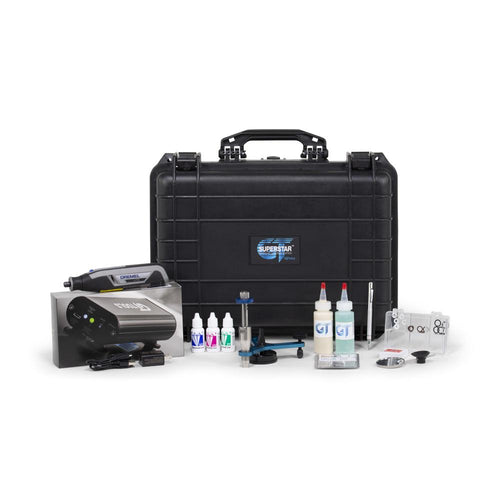
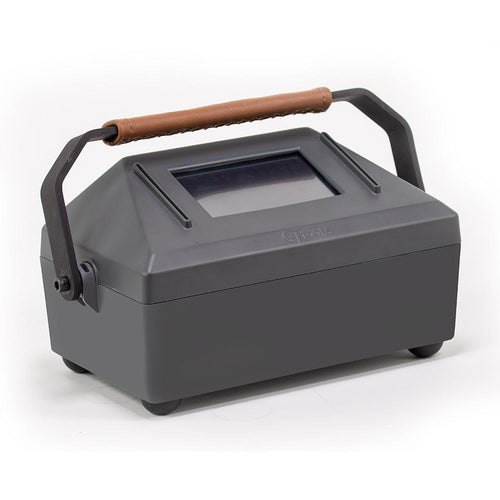
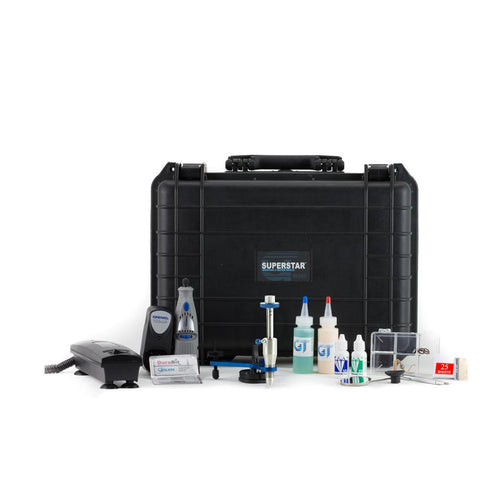
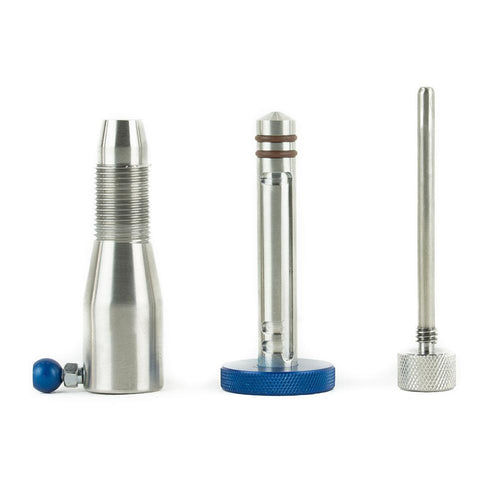
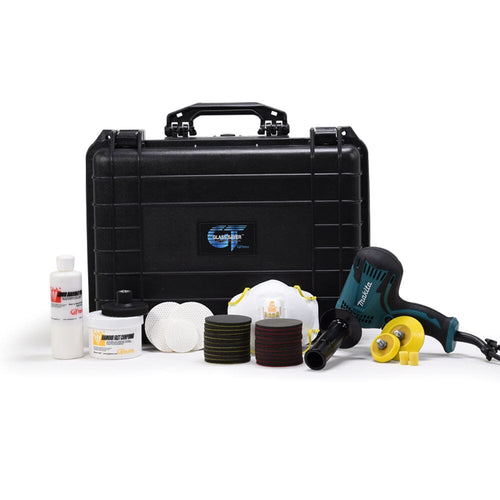
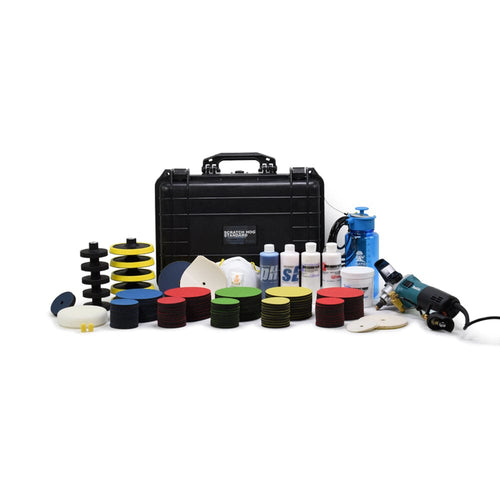
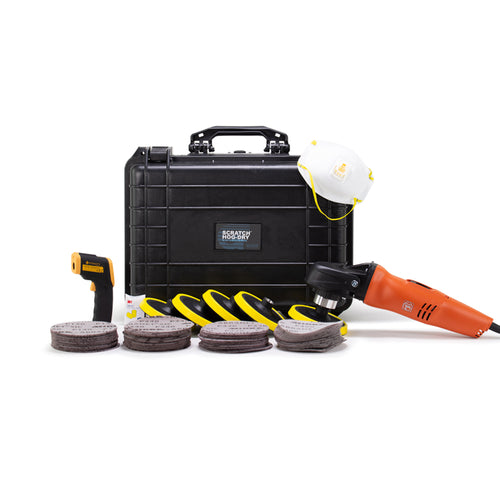
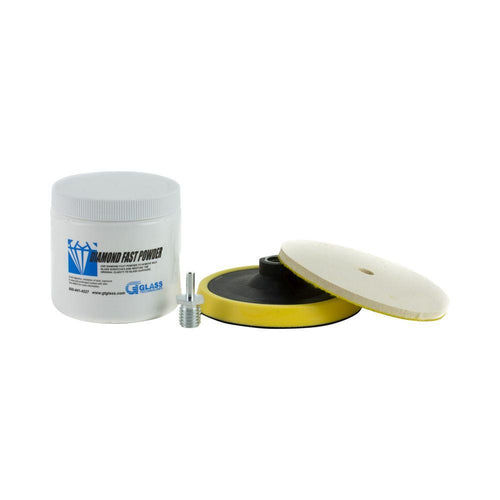
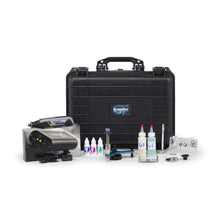
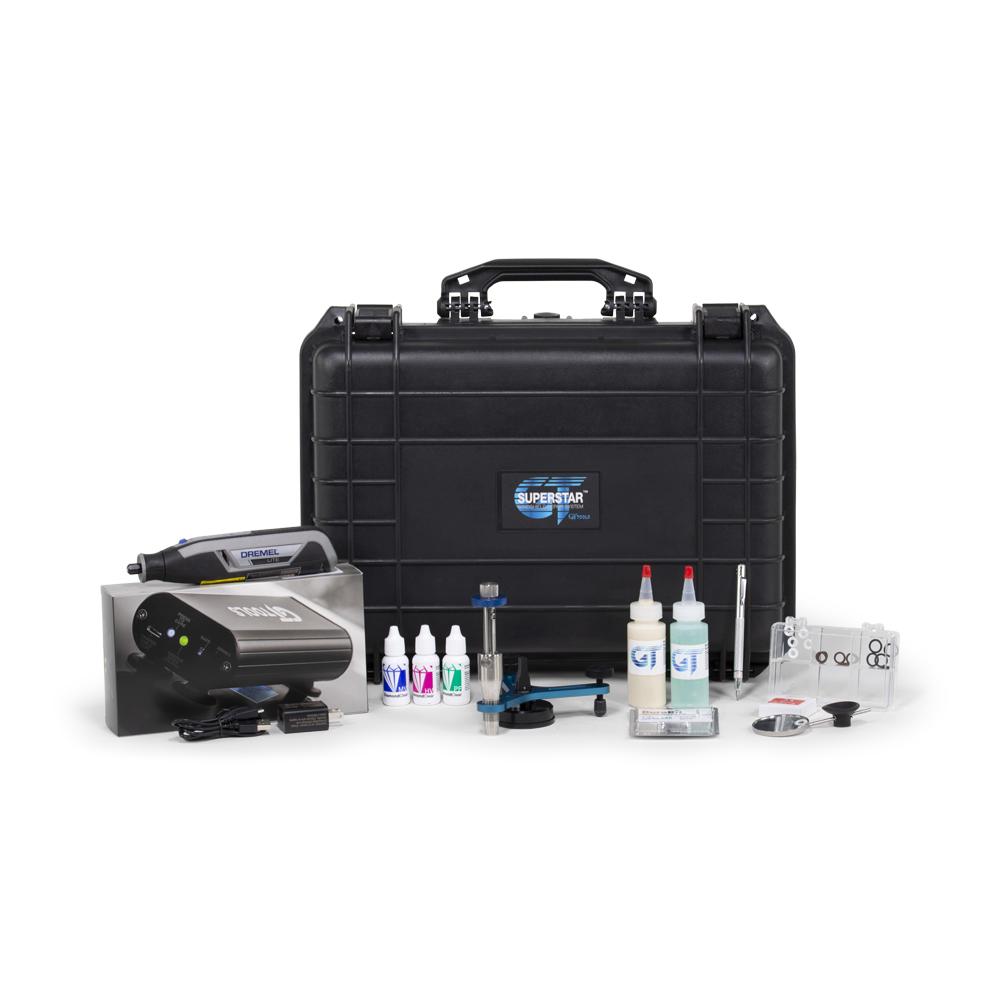
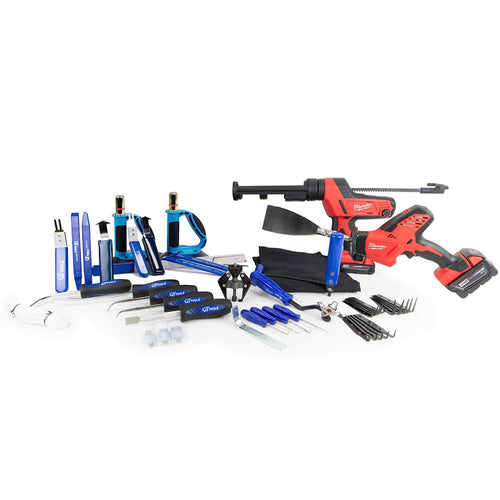
SuperStar™ SpeedLock™ Windshield Repair Kit


 01
01
 02
02
 03
03
 04
04


Here are the shipping dimensions for the SuperStar windshield repair system! 18x14x9 14lbs Thank you!
We can ship to Canada, and we also have distributors there! Give us a call at 970-247-9374 for a list, or send us an email at sales@gtglass.com
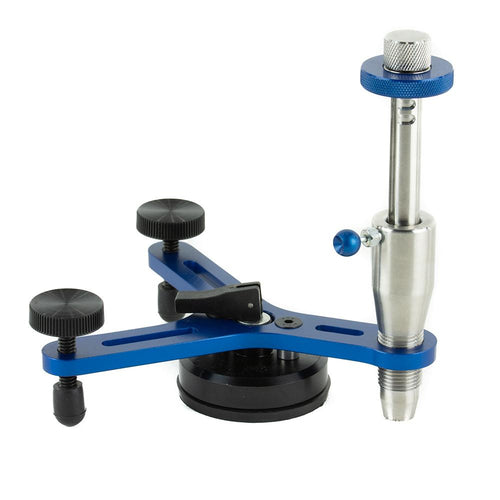
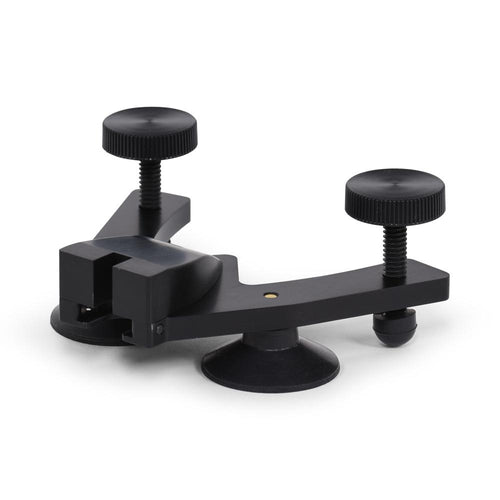
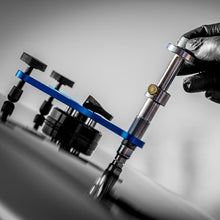
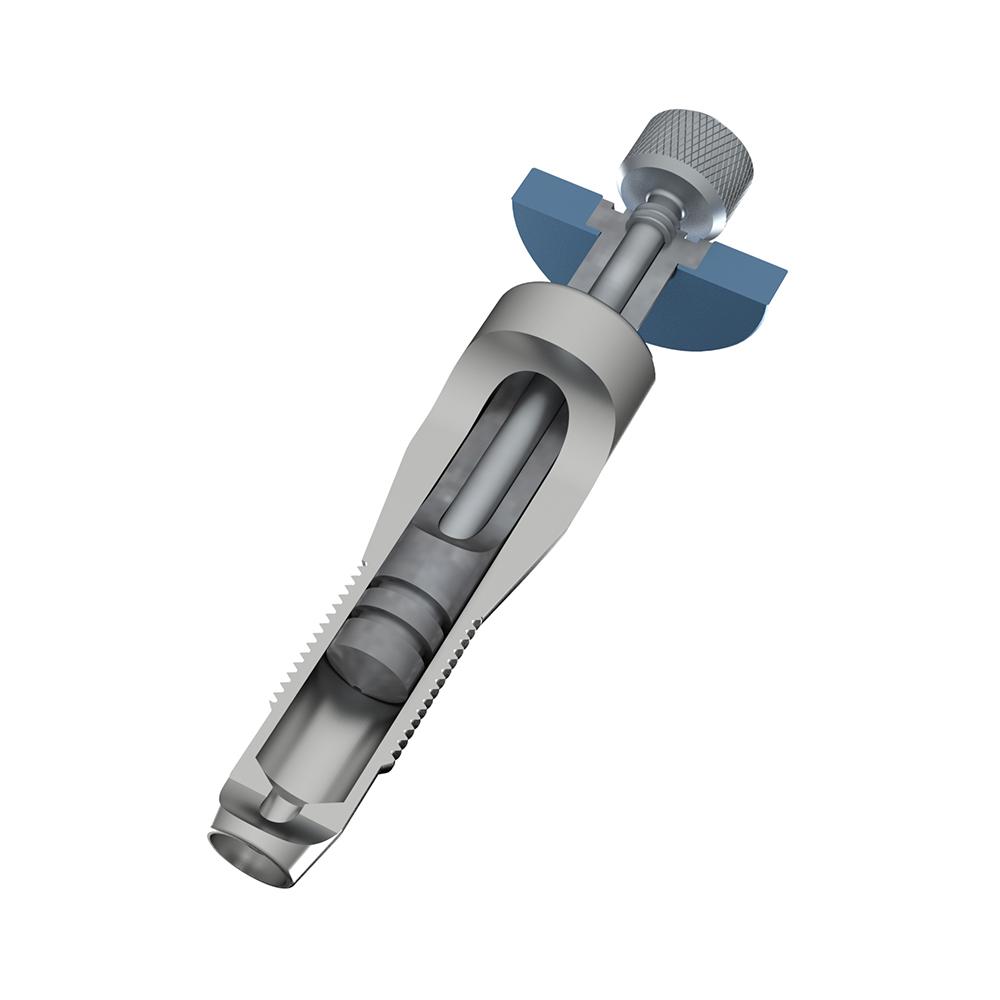
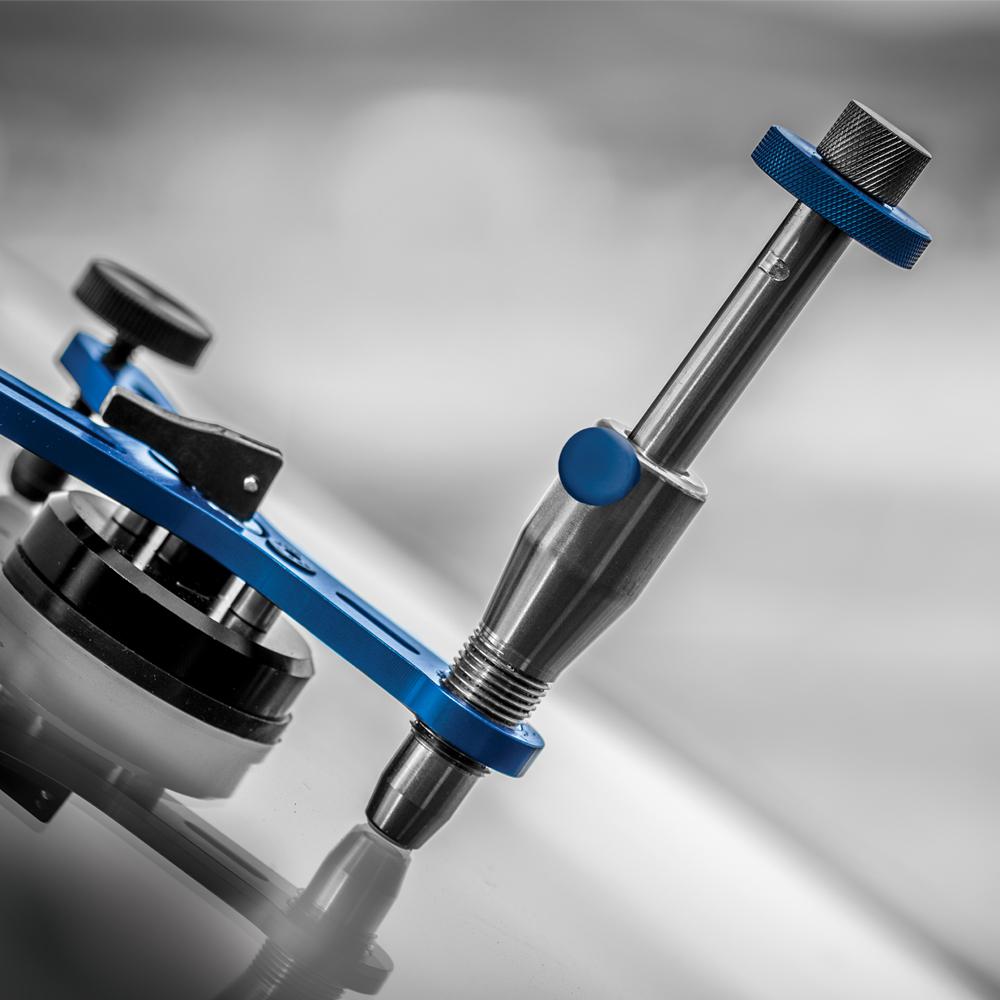
Thanks for your questions. We do have a verticle glass adapter. This allows for the resin to be held toward the glass during the repair. Here is a link to the part: https://www.gtglass.com/products/vertical-glass-adapter?_pos=1&_sid=83f0a976e&_ss=r GT Tools Team
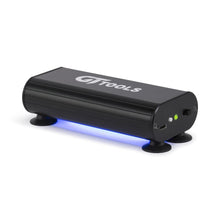
Hey thanks so much for reaching out to us. The vacuum and pressure capabilities of the SuperStar SpeedLock kit are going to slightly vary depending upon how much resin you are using and where you are at in elevation. However, with our recommended 4-5 drops or resin per repair at sea level, the SuperStar can achiooeve roughly 20 inHg of Vacuum and 31 psi in pressure at the top SpeedLock notch. Please give us a call at 970-247-9374 and let us know if you have any other questions we could help you out with!Â
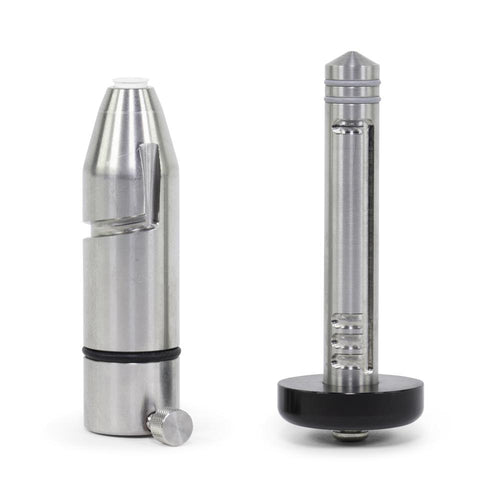
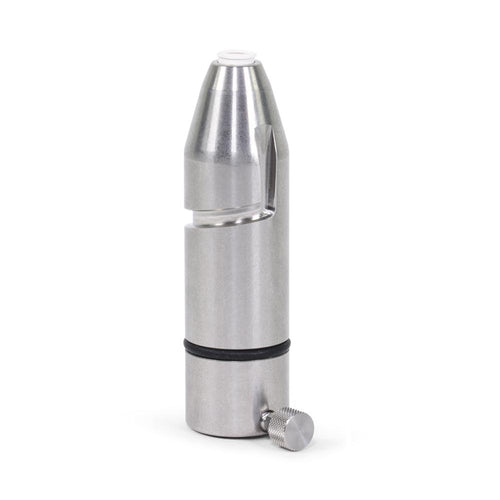
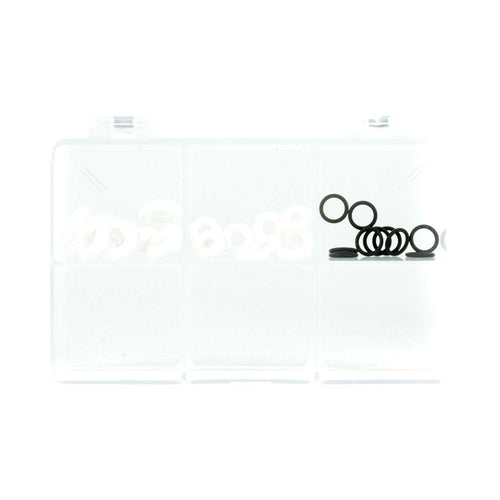
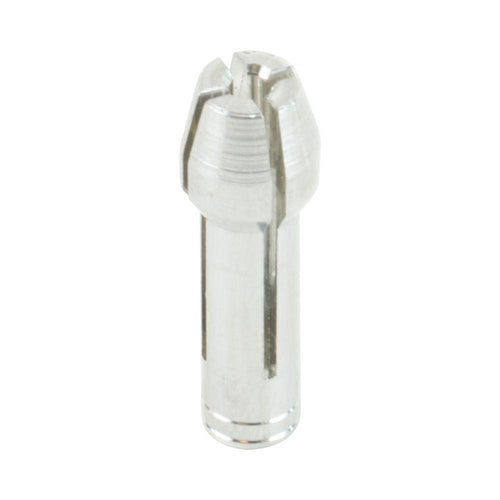
Hello, You can purchase the full seal kit for the superstar here: https://www.gtglass.com/products/20-20-seal-kit If you just need the plunger seals, those can be purchased here: https://www.gtglass.com/collections/adapters-and-seals/products/plunger-seals-qty-10 Please reach back out to us if you need anything else!
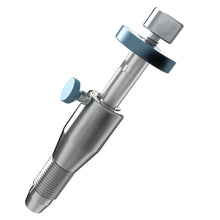
Thanks for reaching out. Make sure you are placing a drop of HV resin on the brown plunger seals prior to inserting the plunger into the injector body (a small bottle should be in your kit). That should sufficiently lubricate the plunger and will move smoothly. Also, make sure you are fully cleaning all components with isopropyl alcohol at the end of each day - as the resin dries it can get gummy in the components if not cleaned properly. Feel free to reach out to the office directly at 970-247-9374 if you are still having issues! Best, PC Lauinger GT Tools
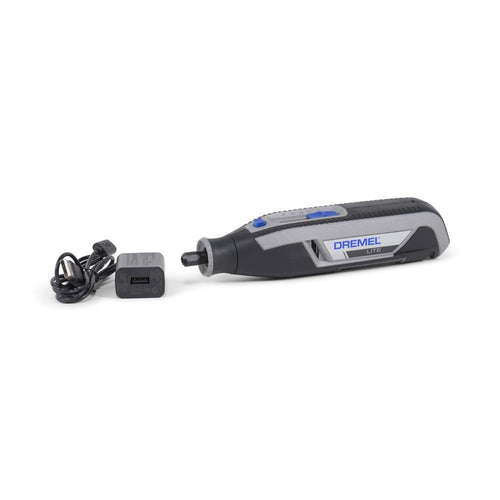
Hi, Yes, you can purchase those parts separately as well. Here is the link to the Drill: https://www.gtglass.com/products/cordless-glass-dremel-drill-4-3v and here is the link to the 20IA SuperStar™ SpeedLock™ Injector Assembly: https://www.gtglass.com/products/superstar-windshield-repair-injector-assembly-complete-680-681
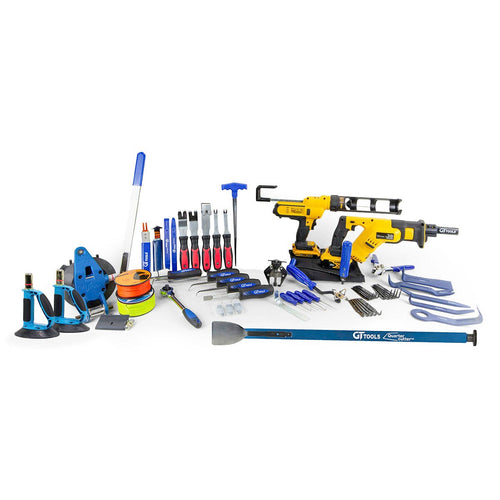
Hi, You can use the injector from this kit to perform long crack repairs, but you would need to add the Long Crack Repair Kit [Part# CRSYS] to give you the additional crack jacks, spreaders, and crack repair resin needed to successfully perform long crack repairs.
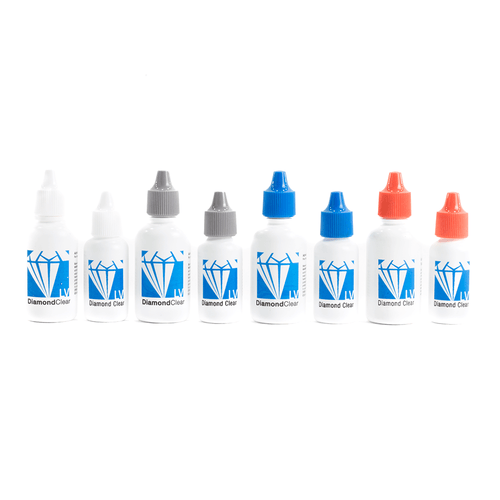
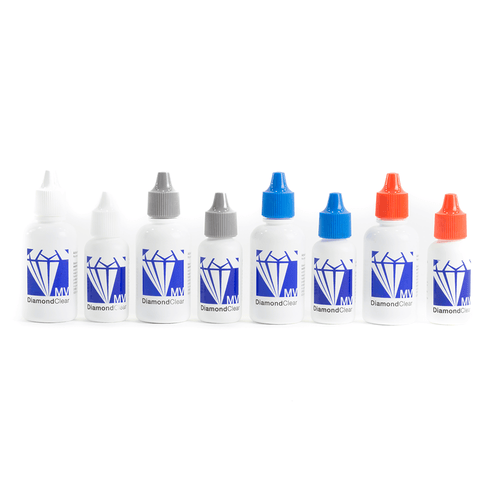
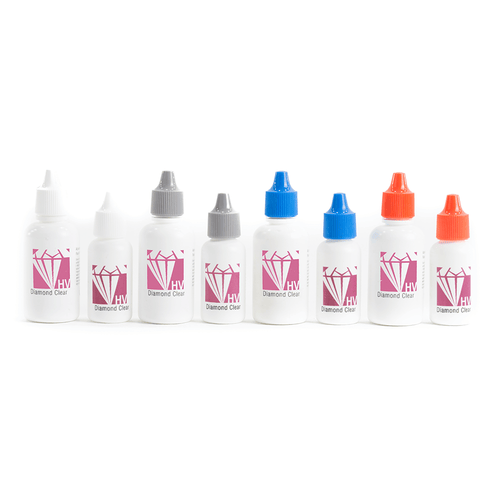
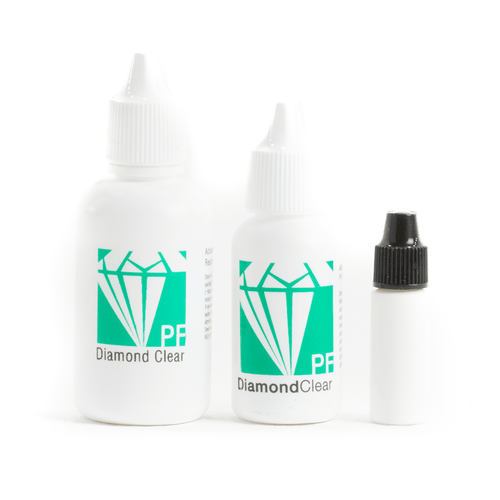
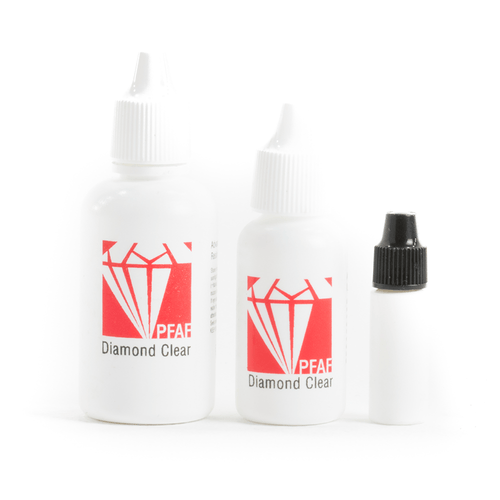
Hi , The 20SYS SpeedLock Kit ships with MV (medium viscosity) resin and PF (high viscosity) Pit filler. The MV resin is ideal for temperatures between 65-85 degrees. The PF Pit filler is used to seal the pit area after you cure the initial repair and can be used in temperatures >65 degrees. For 80 to 100 degree Phoenix heat, I would purchase our HV (High Viscosity) resin [Part# RHVAF-15 or RHVAF-30], which is ideal for temps above 85 degrees. The pit filler in your kit should work fine for these Phoenix temps. If you'd like to do repairs in sunlight, I would protect the repair area with our UV sunshade [Part# SS].
When you purchase GT Tools®, you’re not only buying great products, you’re also gaining the commitment, support, and perks that insure those products will meet the demands of the industry.


![Launch Tech Roxie W [WI-FI] Diagnostic Scan Tool 301050450](http://www.gtglass.com/cdn/shop/products/ROXIEW.png?v=1645732439&width=500)