YOUR CART IS EMPTY
Go to cart

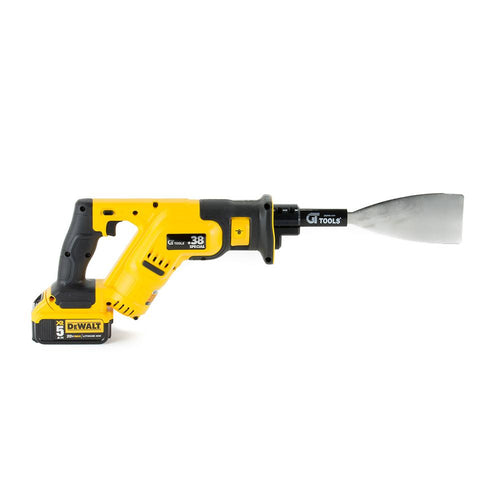
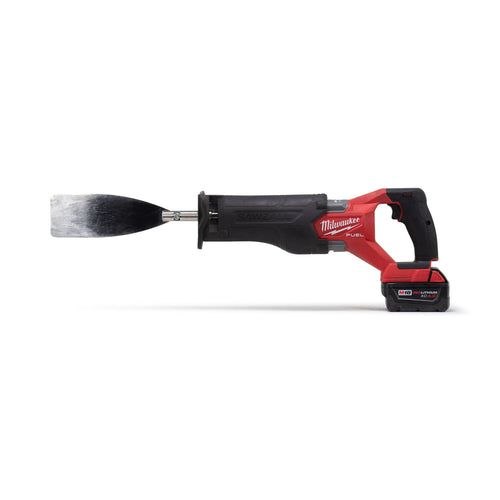
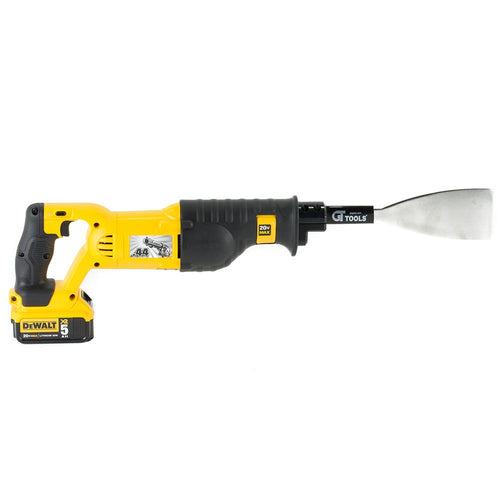
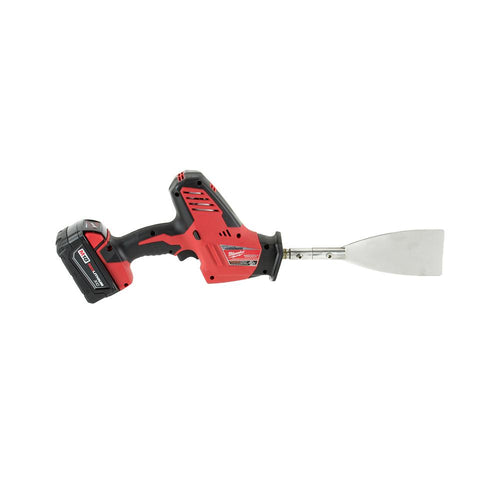
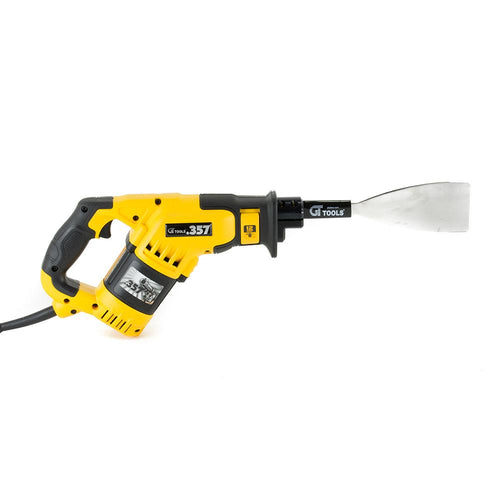
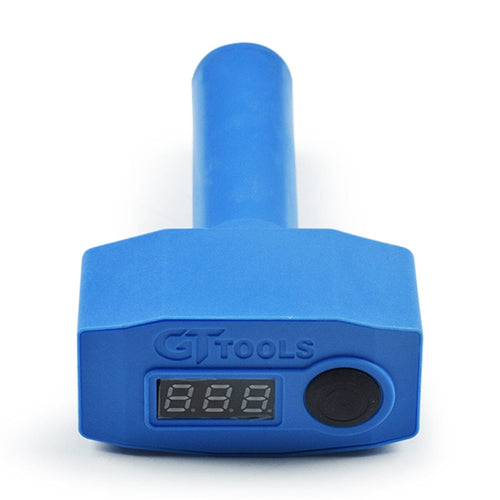
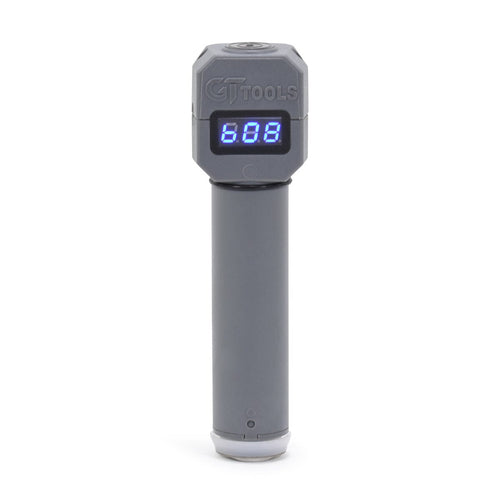
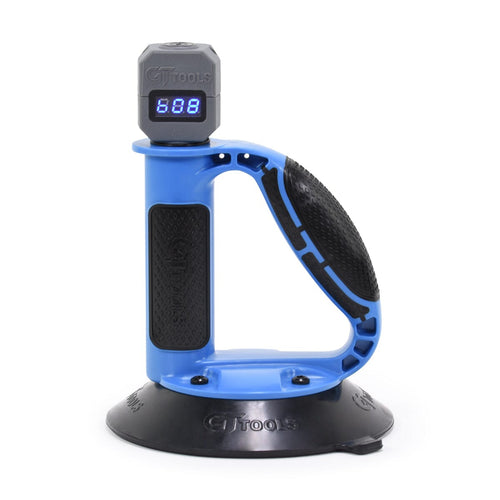
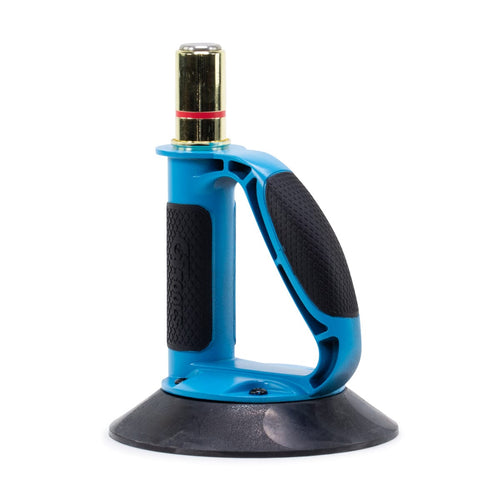
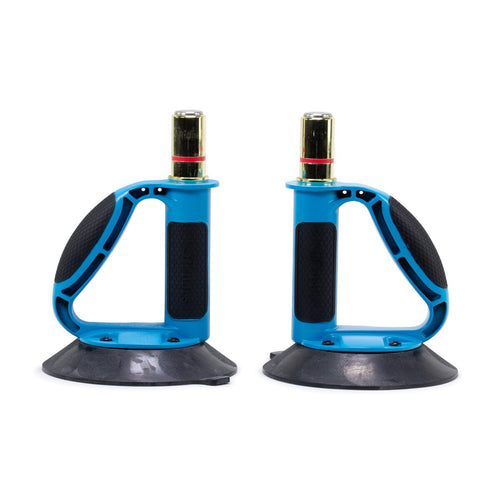
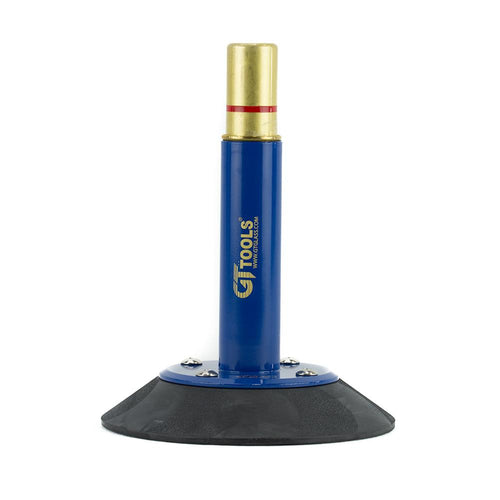
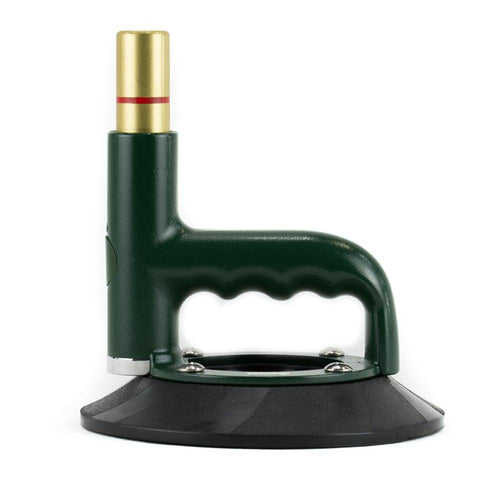
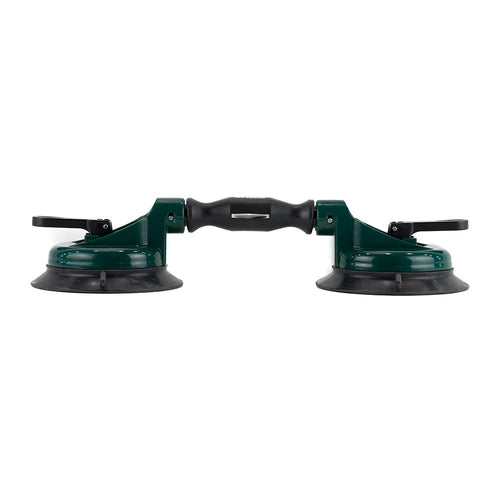
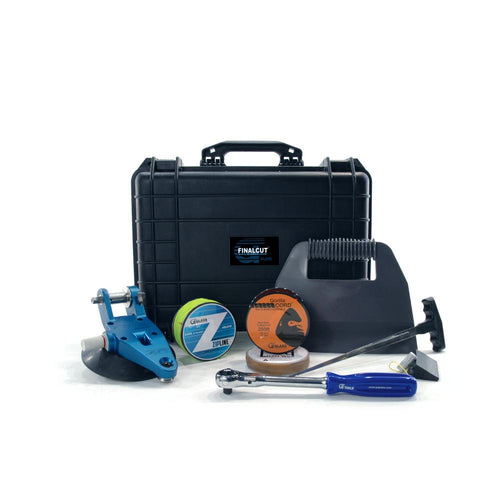
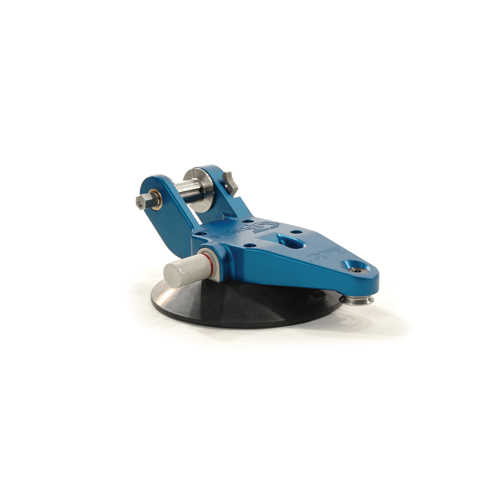
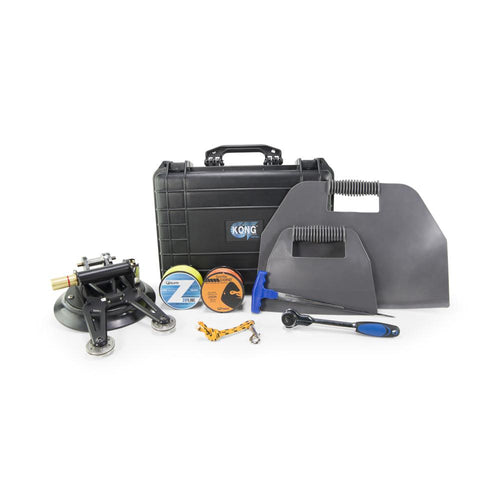
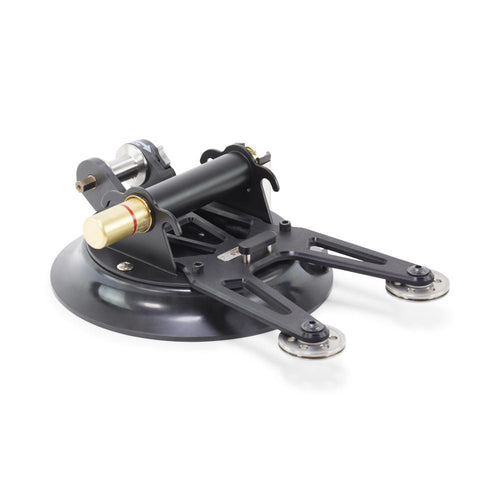
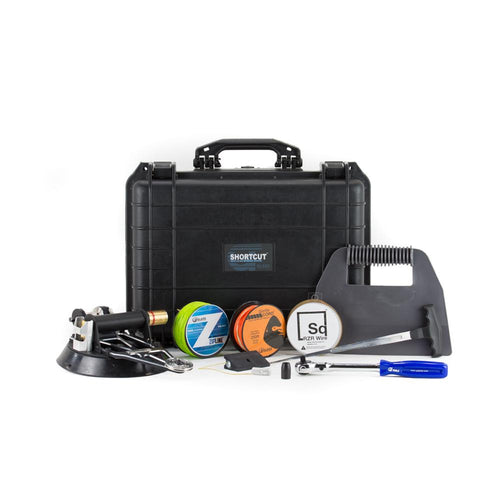
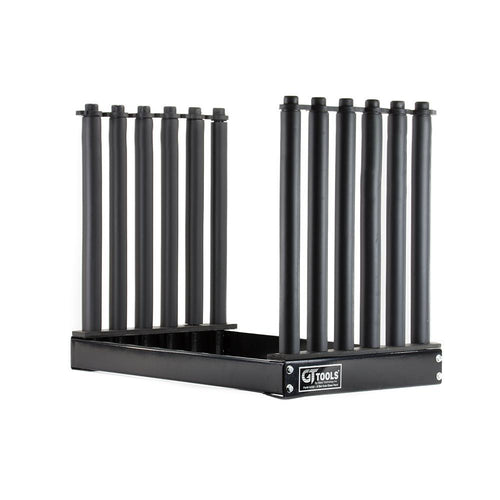
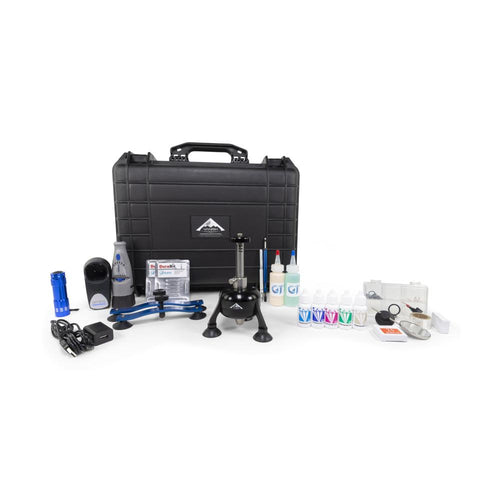
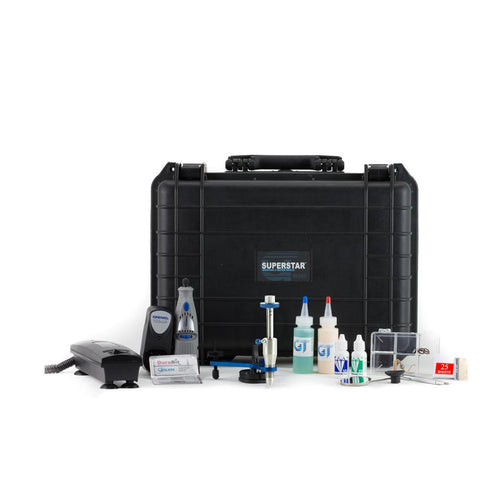
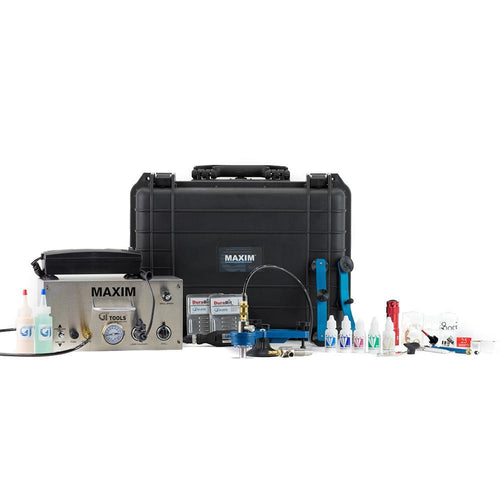
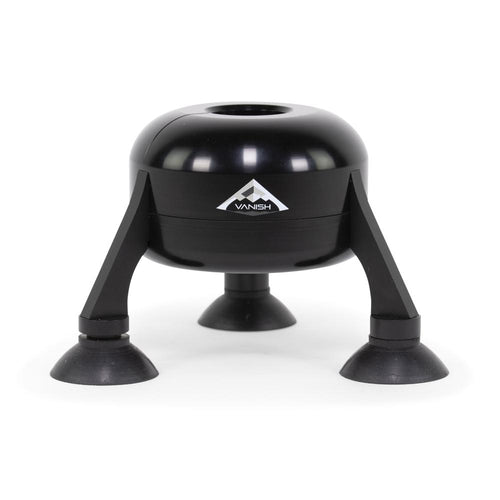
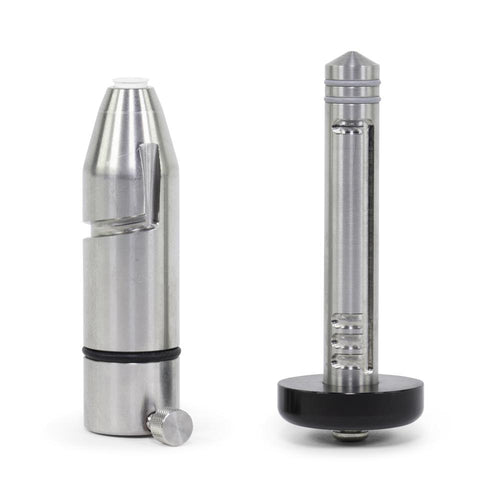
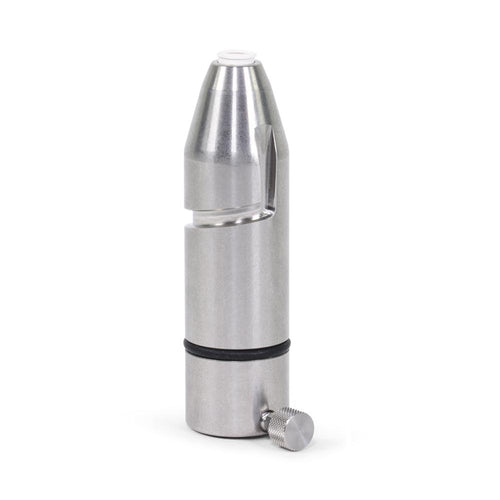
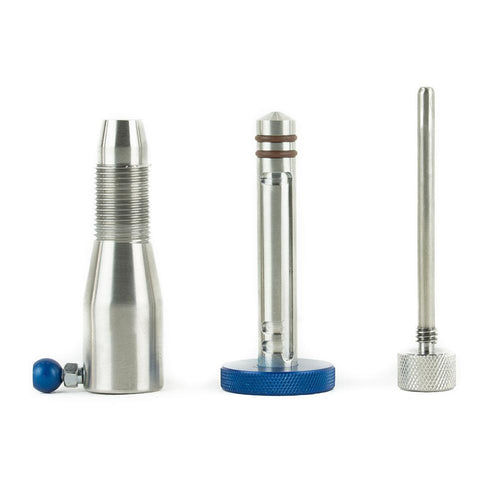
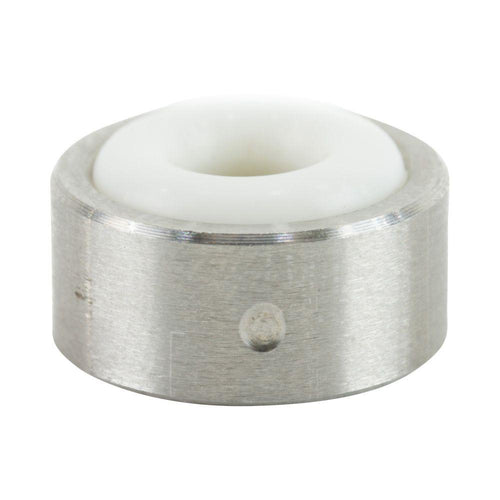
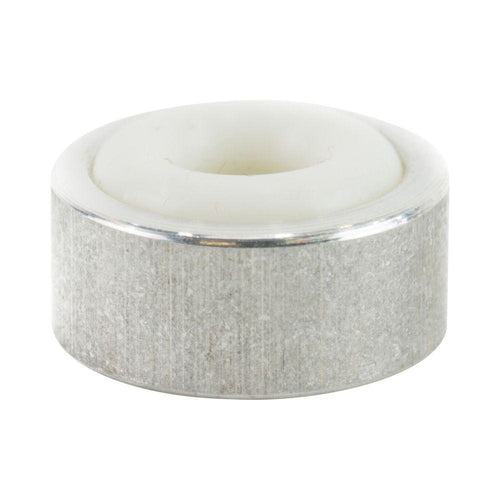
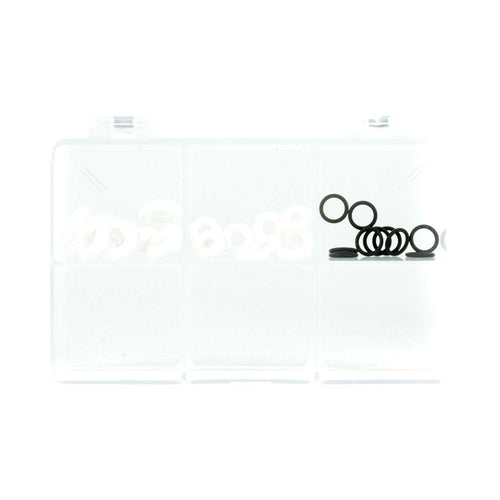
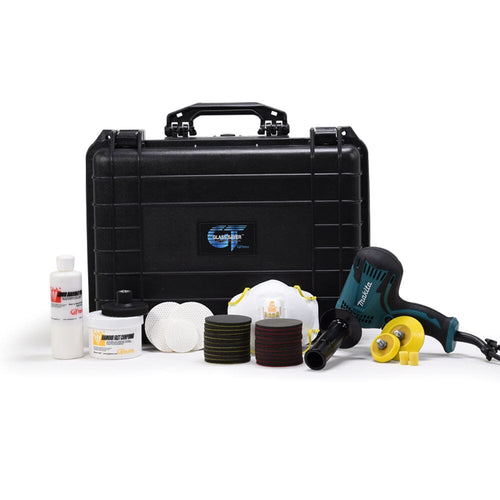
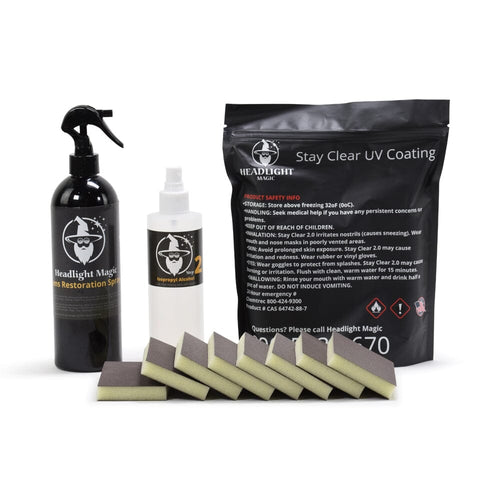
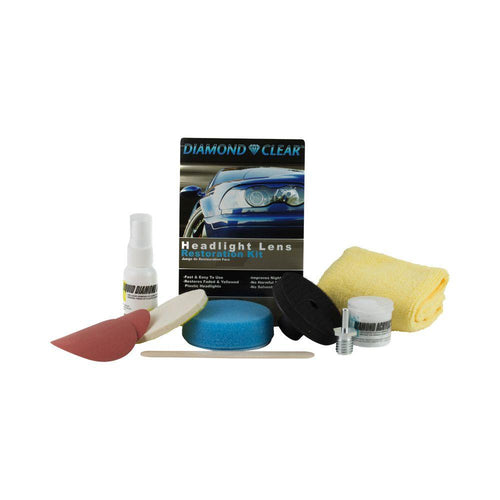
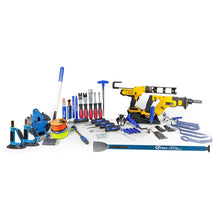
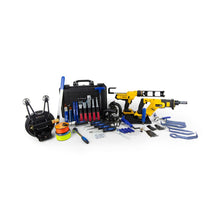
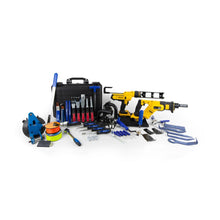
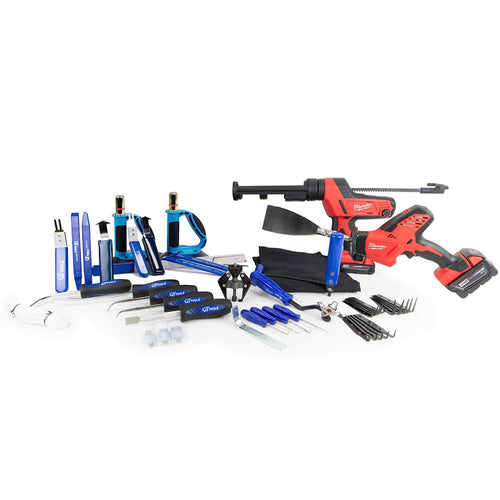
Windshield Removal Tool Kit - Premium


 01
01
 02
02
 03
03
 04
04


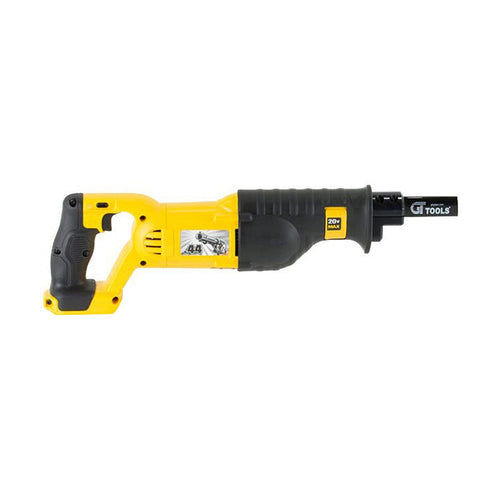
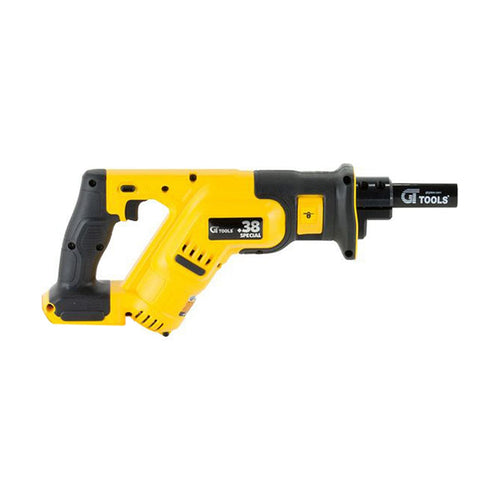
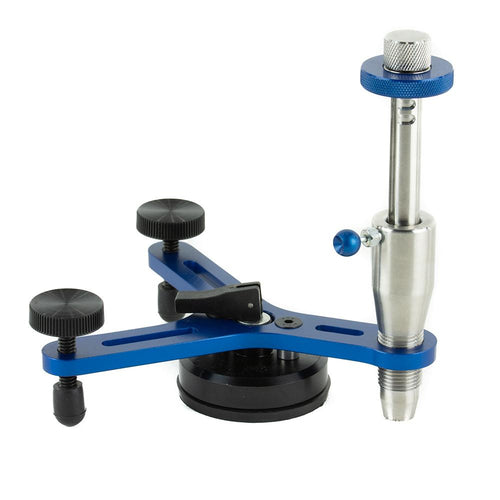
Hi JJ, those are great questions. To answer your first one, the 6” cup will hold on windshields, quarter, and back glass in all situations but extremely hard urethane and RVs. Even in those situations, all you need to do is move the tool a couple more times to keep your acute cutting angle. If you think you’re going to be doing a lot of larger vehicles, I would go with our Shortcut, which is built on an 8” platform. As for wearing components, the cord/wire rides on all hardened stainless steel components (pulley, raised, hardened dowel pin at body contact point, and stainless steel spool. These components are all replaceable as well but we haven’t seen any come back in 2 years for replacement.
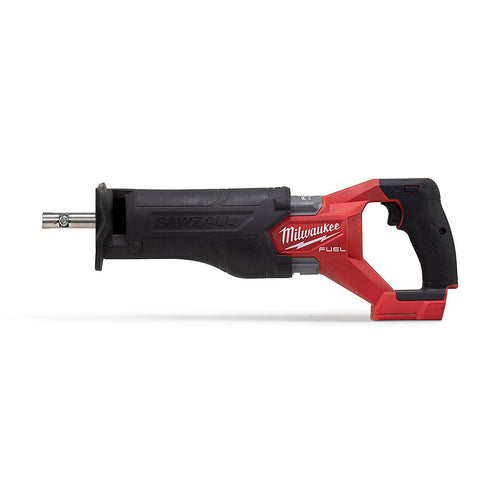
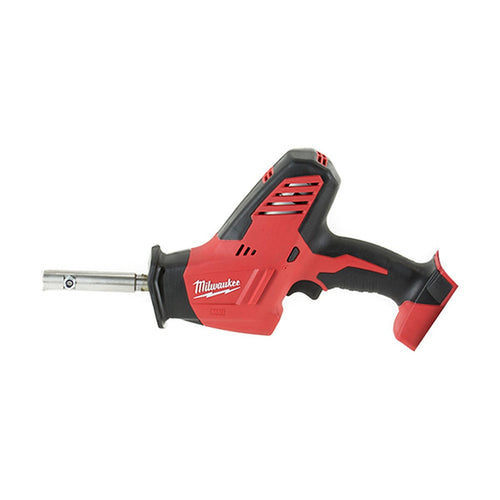
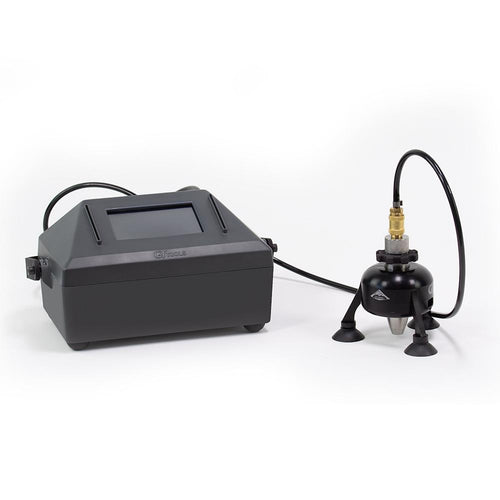
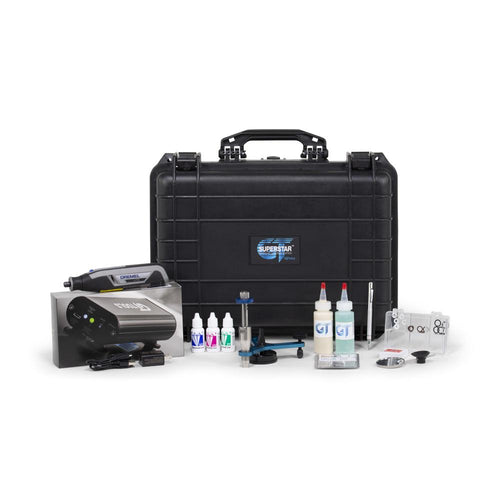
Hey Roy - We've found the best tool to run on both the ShortCut and FinalCut is the Milwaukee Brushless Cordless M18 1/2" drill/driver. Bare tool part number is 2801-20.
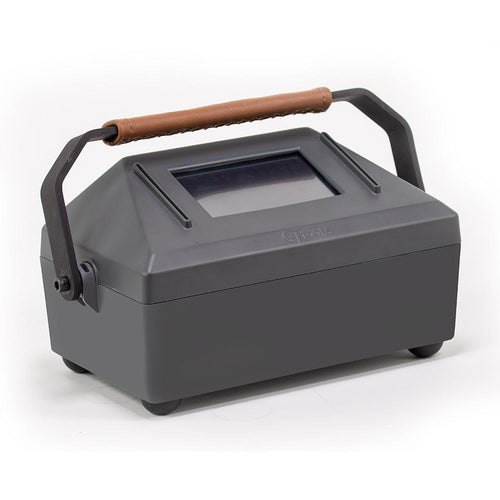
Yes, the FinalCut is entirely made in Durango Colorado USA
When you purchase GT Tools®, you’re not only buying great products, you’re also gaining the commitment, support, and perks that insure those products will meet the demands of the industry.


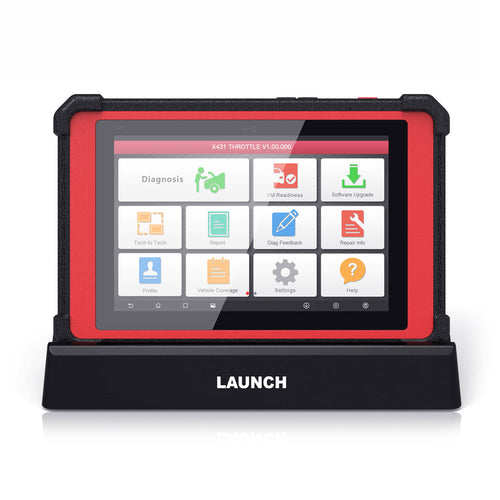

![Launch Tech Roxie W [WI-FI] Diagnostic Scan Tool 301050450](http://www.gtglass.com/cdn/shop/products/ROXIEW.png?v=1645732439&width=500)